Install Windows 7 on Asus X555DA Notebook Laptop: Everything You Need to Know
The install Windows 7 on Asus X555DA Notebook Laptop process is an excellent choice for users seeking a stable, familiar experience. This laptop, equipped with a solid AMD A10 processor and reliable hardware, is more than capable of handling various tasks. If you’re looking to install Windows 7 on Asus X555DA Notebook Laptop for compatibility reasons, a preferred user interface, or specific software requirements, this guide is designed to take you step by step through the entire procedure. From preparation to troubleshooting, we’ll cover everything you need to know to complete the install Windows 7 on Asus X555DA Notebook Laptop process smoothly.
Overview of Installing Windows 7 on Asus X555DA Notebook Laptop
The install Windows 7 on Asus X555DA Notebook Laptop is ideal for users who may not be interested in newer operating systems like Windows 10 or 11. With features like an AMD A10 processor and a 15.6-inch screen, this budget-friendly laptop provides a good user experience. Even though modern laptops often come preloaded with Windows 10 or 11, installing Windows 7 on Asus X555DA Notebook Laptop may offer better compatibility or a more straightforward interface, especially if you prefer the layout and functionality of this classic OS.
While install Windows 7 on Asus X555DA Notebook Laptop might seem outdated since Microsoft has officially ended support for Windows 7, many users still appreciate its stability and familiarity. This guide will ensure you can install Windows 7 on Asus X555DA Notebook Laptop with ease, making the transition seamless and hassle-free.
Essential Preparation Before Installing Windows 7 on Asus X555DA Notebook Laptop
Before beginning the install Windows 7 on Asus X555DA Notebook Laptop process, preparation is key. Taking the time to properly prepare ensures that you avoid potential issues and that the installation goes smoothly.
System Requirements for Installing Windows 7 on Asus X555DA Notebook Laptop
The first step when preparing to install Windows 7 on Asus X555DA Notebook Laptop is to confirm that your device meets the necessary hardware requirements. Although Windows 7 is lighter than newer versions, it still needs specific hardware to run properly. Below are the key system requirements for installing Windows 7 on Asus X555DA Notebook Laptop:
- Processor: 1 GHz or faster (32-bit or 64-bit)
- RAM: 1 GB for 32-bit or 2 GB for 64-bit
- Hard Drive: 16 GB for 32-bit, 20 GB for 64-bit
- Graphics: DirectX 9 device with WDDM 1.0 or higher
- Display: 800 x 600 or higher resolution
The Asus X555DA Notebook Laptop typically features an AMD A10 processor, which is fully compatible with Windows 7. The device also offers ample storage and memory, making it an ideal candidate for installing Windows 7 on Asus X555DA Notebook Laptop. Still, it’s essential to double-check these specifications to ensure everything aligns with Windows 7’s requirements.
Backing Up Your Files Before Installing Windows 7 on Asus X555DA Notebook Laptop
A crucial step before you begin to install Windows 7 on Asus X555DA Notebook Laptop is backing up your important data. Installing a fresh operating system will wipe everything from your laptop, so securing your files beforehand is necessary.
You can back up your data to an external drive or USB stick by copying essential files. Alternatively, cloud storage options like Google Drive, Dropbox, or OneDrive allow you to store your documents securely and access them from anywhere. Be sure to back up all important files before starting the install Windows 7 on Asus X555DA Notebook Laptop process to avoid any data loss.
Creating a Bootable USB for Installing Windows 7 on Asus X555DA Notebook Laptop
To proceed with the install Windows 7 on Asus X555DA Notebook Laptop process, you’ll need a bootable USB drive that contains the Windows 7 installation files. Here’s how to prepare your USB drive:
- Download the Windows 7 ISO File: Download the official ISO file from Microsoft’s website or another trusted source.
- Use Rufus to Make the USB Bootable: Use a tool like Rufus to turn your USB drive into a bootable device. Follow these steps:
- Insert the USB drive into your laptop.
- Open Rufus and select the USB drive from the list.
- Choose the Windows 7 ISO you downloaded.
- Set the partition scheme to MBR for BIOS or UEFI.
- Click “Start” to create your bootable USB.
Once the USB drive is ready, you can proceed to install Windows 7 on Asus X555DA Notebook Laptop.
Step-by-Step Guide to Installing Windows 7 on Asus X555DA Notebook Laptop
Now that your preparation is complete, it’s time to install Windows 7 on Asus X555DA Notebook Laptop. The process consists of several important stages, including adjusting BIOS settings and installing drivers.
Entering BIOS/UEFI Settings for Installing Windows 7 on Asus X555DA Notebook Laptop
The first thing you need to do is access the BIOS settings of your Asus X555DA to configure the boot order. Here’s how:
- Power on or restart your laptop.
- Press the F2 key as soon as the Asus logo appears to enter BIOS.
- In the BIOS menu, change the boot order to boot from the USB drive first.
Once you’ve made these changes, save and exit BIOS, which will allow your laptop to begin booting from the USB drive. This is the first step to successfully install Windows 7 on Asus X555DA Notebook Laptop.
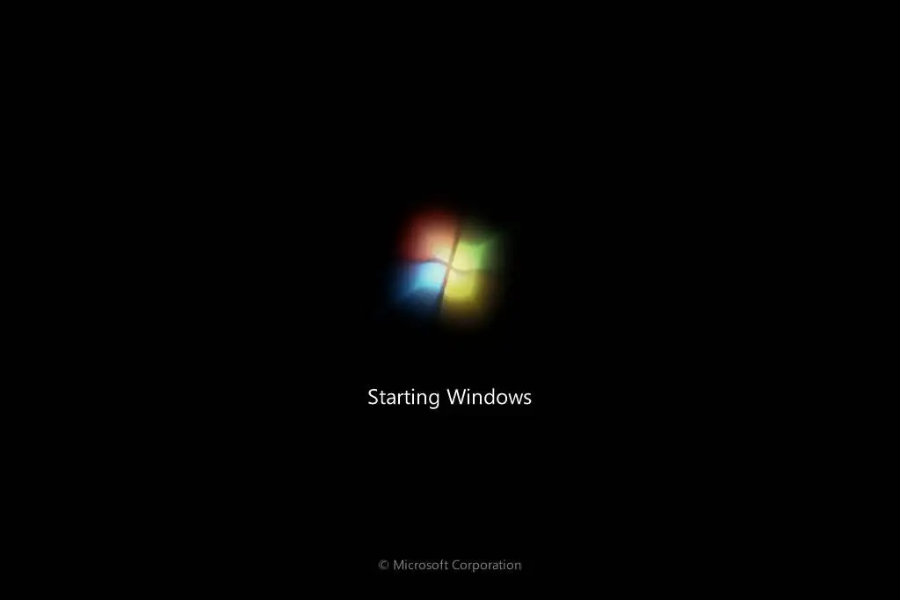
Installing Windows 7 on Asus X555DA Notebook Laptop
After setting your USB drive as the primary boot device, the install Windows 7 on Asus X555DA Notebook Laptop process will begin. Follow the prompts to continue:
- Choose Your Language and Preferences: Select the appropriate language, time zone, and keyboard settings before clicking “Next.”
- Start Installation: Click “Install Now” to begin the installation process.
- Accept License Terms: Review and agree to the Microsoft Software License Terms.
- Choose Installation Location: Select the partition where you want Windows 7 to be installed (usually “Drive 0”).
- Wait for Installation: Windows 7 will copy the necessary files to your laptop. The process may take some time, so be patient as your laptop may restart several times.
After installation, you will be prompted to set up a user account and password. Once complete, you’ll have successfully installed Windows 7 on your Asus X555DA.
Installing Drivers and Updates for Windows 7 on Asus X555DA Notebook Laptop
Once you’ve completed the install Windows 7 on Asus X555DA Notebook Laptop process, you need to install drivers to ensure all components function correctly. Key drivers for graphics, audio, and networking must be installed.
- Drivers Downloading from Asus: Visit the Asus support site for the X555DA model and download the drivers for Windows 7.
- Drivers Installation: Open and run the downloaded drivers, following the on-screen instructions.
- Update Windows: Check for any available updates from Windows Update to ensure your system stays secure and up to date.
Troubleshooting Issues After Installing Windows 7 on Asus X555DA Notebook Laptop
Although the process of installing Windows 7 on Asus X555DA Notebook Laptop is typically smooth, you may encounter some issues. Here are some solutions for common problems:
Boot Issues
If your laptop doesn’t boot from the USB or encounters errors during boot, check the BIOS settings again and confirm the USB drive is set as the primary boot device. If the issue persists, try using a different USB port or recreate the bootable USB.
Driver and Compatibility Issues
Sometimes, finding the correct drivers for newer hardware when you install Windows 7 on Asus X555DA Notebook Laptop can be challenging. Visit the official Asus website for the latest drivers compatible with Windows 7 or try third-party tools to search for compatible drivers.
Performance Issues
If your laptop’s performance seems slower after installing Windows 7 on Asus X555DA Notebook Laptop, consider adjusting your power settings or disabling unnecessary startup programs. You can also run disk cleanup to remove temporary files and optimize system performance.
Key Facts about Installing Windows 7 on Asus X555DA Notebook Laptop:
- Compatibility with Older Operating Systems:
While the Asus X555DA comes with newer Windows versions like Windows 10 or 11, installing Windows 7 on Asus X555DA Notebook Laptop offers compatibility for specific software or a user interface that some users prefer.
- AMD A10 Processor Support:
The Asus X555DA comes equipped with an AMD A10 processor, which is fully compatible with Windows 7, ensuring smooth performance during installation and usage of the operating system.
- System Requirements:
The install Windows 7 on Asus X555DA Notebook Laptop process requires a minimum of 1 GB RAM for the 32-bit version or 2 GB for the 64-bit version, alongside enough hard drive space (16 GB for 32-bit and 20 GB for 64-bit).
- End of Support for Windows 7:
While Microsoft officially ended support for Windows 7 in January 2020, users can still install Windows 7 on Asus X555DA Notebook Laptop for specific tasks, though updates and security patches are no longer provided.
- Enhanced User Experience for Some:
Many users prefer the classic interface and simplicity of Windows 7 over the newer versions. By choosing to install Windows 7 on Asus X555DA Notebook Laptop, users can enjoy a familiar operating environment.
Conclusion: Successfully Install Windows 7 on Asus X555DA Notebook Laptop
By following this guide, you will be able to install Windows 7 on Asus X555DA Notebook Laptop successfully, ensuring your device runs efficiently and effectively. Don’t forget to back up your data, create a bootable USB, and install the necessary drivers to ensure a smooth setup. With patience and the right tools, installing Windows 7 on Asus X555DA Notebook Laptop will be a simple and rewarding process, allowing you to enjoy the stability and familiarity of this classic operating system.
FAQs About Installing Windows 7 on Asus X555DA Notebook Laptop:
- Can I install Windows 7 on the Asus X555DA if it comes with Windows 10 pre-installed?
- Yes, you can install Windows 7 on Asus X555DA Notebook Laptop, but it will require creating a bootable USB with the Windows 7 installation files and ensuring the laptop’s BIOS is set to boot from the USB.
- Will all hardware components work properly after installing Windows 7 on Asus X555DA Notebook Laptop?
- Most components should work well, but you might need to manually download and install the correct drivers from the Asus website for full functionality, especially for modern hardware.
- How much free storage space is required to install Windows 7 on Asus X555DA Notebook Laptop?
- The minimum space required for installing Windows 7 on Asus X555DA Notebook Laptop is 16 GB for the 32-bit version or 20 GB for the 64-bit version.
- What should I do if my Asus X555DA doesn’t boot from the USB when installing Windows 7?
- Ensure that the BIOS is properly configured to boot from the USB drive. You can do this by accessing the BIOS settings and changing the boot order to prioritize the USB drive.
- Is it safe to install Windows 7 on Asus X555DA even though it’s no longer supported by Microsoft?
- While installing Windows 7 on Asus X555DA is possible, keep in mind that Microsoft no longer provides updates or security patches. It’s recommended to use it in environments where internet access or sensitive data isn’t a concern to reduce security risks.
Stay updated with the latest news and trends here at My Reading Manga!